Required Tools
- Tape-Measure / Ruler
- Wood Glue
- Table Saw or Mitre Saw
- Sandpaper
- Drill
- Forstner Bits
- Router
Customize Plan
3D Viewer
Cut List
| Piece A - Long Side | ||
| Width: 500mm | Height: 40mm | Qty. 2 |
| Piece B - Short Side | ||
| Width: 300mm | Height: 40mm | Qty. 2 |
Input stock dimensions
Cutting Diagram

Step 1 – Base Glue Up (Optional)
The first stage is getting the wood together to form the base of the tray with the dimensions shown below:
If you already have a peice of wood available with these directions, it can easily be cut to size and this step can be skipped. If you are using thinner boards, however, you may need to glue up several boards to achieve this width.
To do this, make sure each of the boards are plane and square, and then apply wood glue to the edges of each board. Clamp them using parallel clamps and leave to try overnight. You may wish to wipe away the excess glue after about 20mins of drying to make the cleanup easier.
Once dry, the resulting board can be planed and cut to size.
Step 2 – Cut Sides
The next step is to cut the sides of the tray. We will need:
- Two pieces at 500mm x 40mm
- Two pieces at 300mm x 40mm
The edges of each side should be cut to a 45 degree mitre as shown. This can be best acheived using a table saw, but if you dont have a table saw available, a mitre saw will work fine too.
TOP TIP: To acheive an easier glue
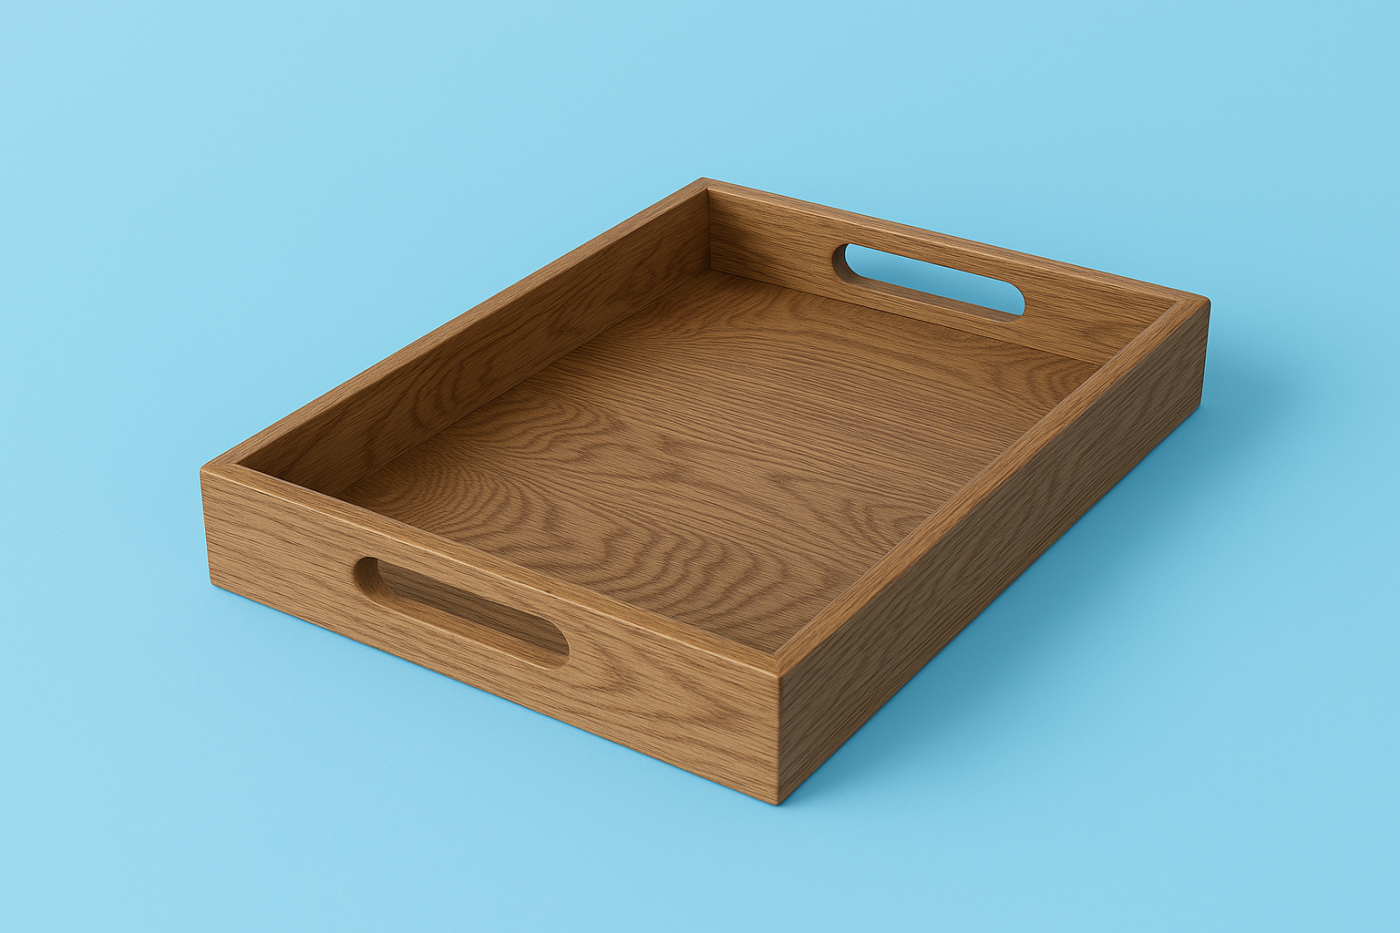
Step 3 – Create Handles

Step 4 – Route Base Insert
The next step is to route the slots for the base to sit in. For this, select a router bit that is equal to (or preferably very slightly wider than) the thickness of the base you are using from Step 1. Set the router cut depth to 5mm and

Step 5 – Assembly
The final stage is to glue up the
Hi, this is a comment.
To get started with moderating, editing, and deleting comments, please visit the Comments screen in the dashboard.
Commenter avatars come from Gravatar.