Serving Tray
A simple project that serves as an ideal gift. Can be built using any wood/finish, however hardwoods such as oak, walnut, maple are reccommended. A water resistant top coad should be applied for use in kitchen environements.
Estimated build time 3 hours + drying time
Instructions
1. (Optional) Base Panel Glue-Up
The first stage is to create the base of the tray. For the dimensions selected, the base pannel should be xmm. If you already have a piece of timber that meets these dimenstions, you can skip this step. Otherwise, you can create a peice with the appropriate size by gluing multiple smaller peices together.
To do this, edge joint the individual boards either using a jointer or a handplane. Once the boards are perfectly square on the edges (you can test this by doing a dry fit - placing them sid-by-side. If you hold the boards up to the light, you should not be able to see it coming through the cracks, in the case of a good fit), apply a thin and even ammount of wood glue to the edge of each board and lay them out flat on a set of parallel clamps as shown below.
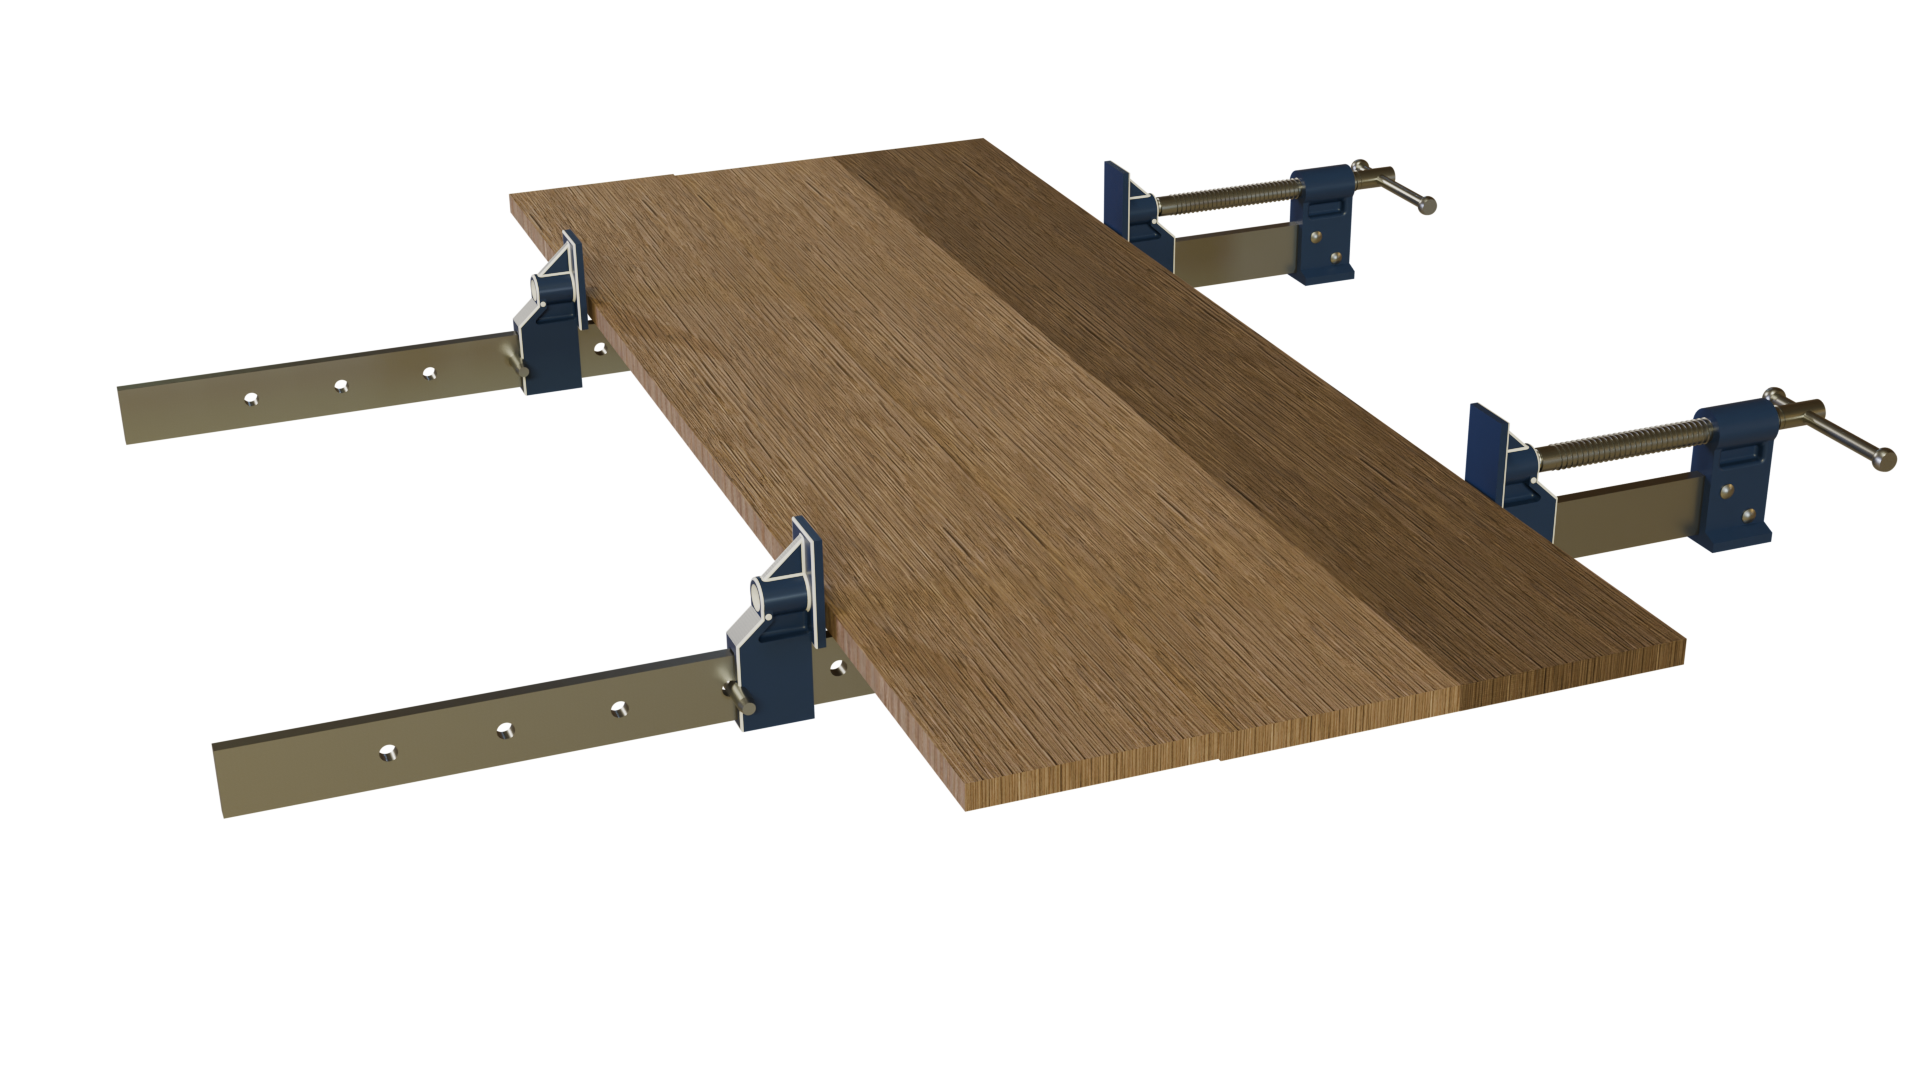 Glue up using clamps
Leave these to dry overnight and then the resulting glue-up can be planed (either using a planer or handplane) to the desired thickeness and cut to dimension.
2. Cut Sides to dimension
The next stage is to cut the serving tray sides to dimension. You should cut 2 sides to xmm to form the long sides, and two sides to xmm to form the short sides.
Initially, cut the boards to width (mm) using a table-saw or handsaw. Once cut to the correct width, the sides need to be cut to length using 45 degree mitre cuts. The quality of these mitre cuts will largely determine the succcess of the assembly process, so it is worth spending some time to get these right!
There are several ways to make a 45 degree mitre cut, depending on the tools you have available. This could be (1) using a table saw (with aprorpirate sled or mitre FENCE ?)
 Drill 2 pilot holes at either end of the tray handle
3. Create grooves for the base to sit in
Following this, we need to create some grooves in each of the side peices, into which the base peice will slot. These should be equal to (or very fractionally larger than) the timber stock used for the base of the tray, to ensure a snug fit but also allow for any slight misalignement during the assembly process, or for any wood movement once the tray is being used.
The easiest way of creating these grooves is to use a router table, as shown below.
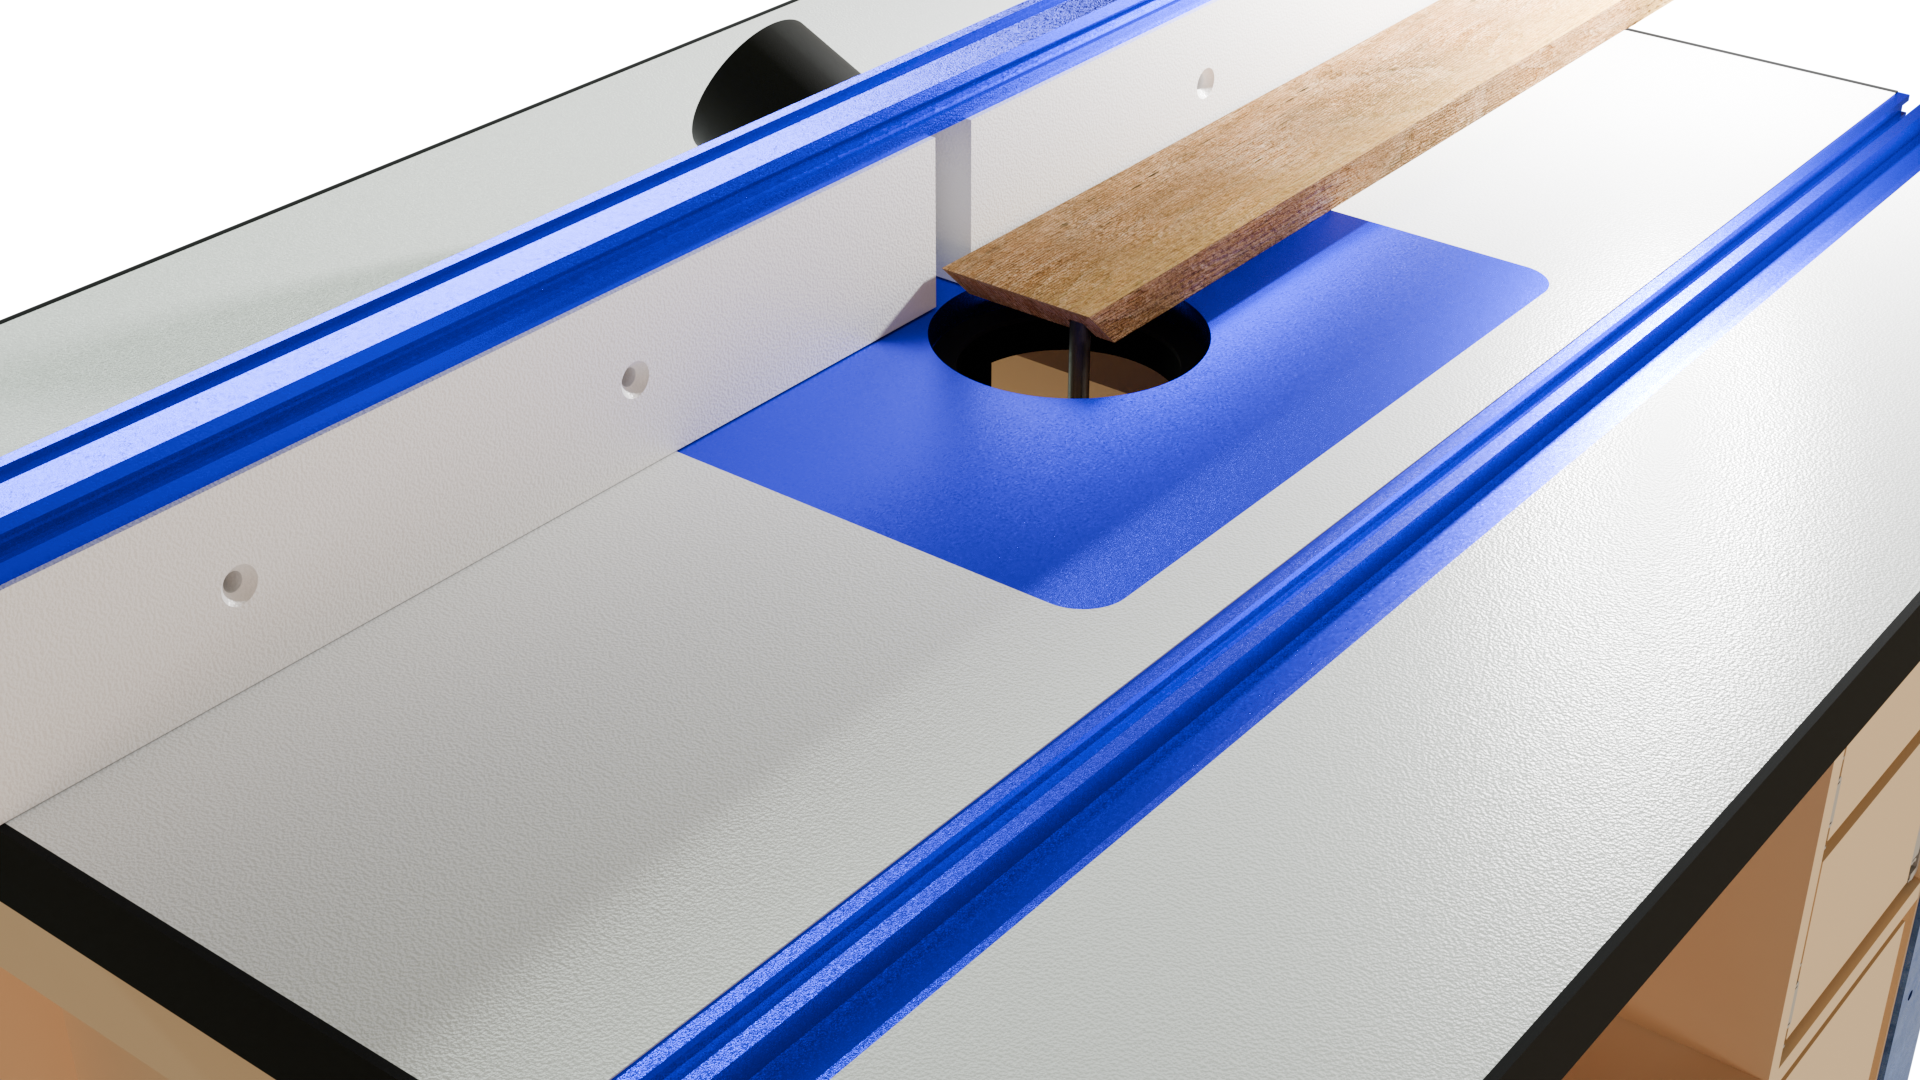 Cutting groves on router table
Position the bit to make an initial cut around 5mm away from the edge of your side peices, with a cutting height of run each of the side peices across the table
4. Cut handles
Once the grooves for the base have been cut, the next stage is to cut the tray handles. Take the smaller sides and determine their centre points. Make a pencil mark to use as a reference. Then measure CHEKC 5cm hirizontally in each direction to form a 10cm horisontal line
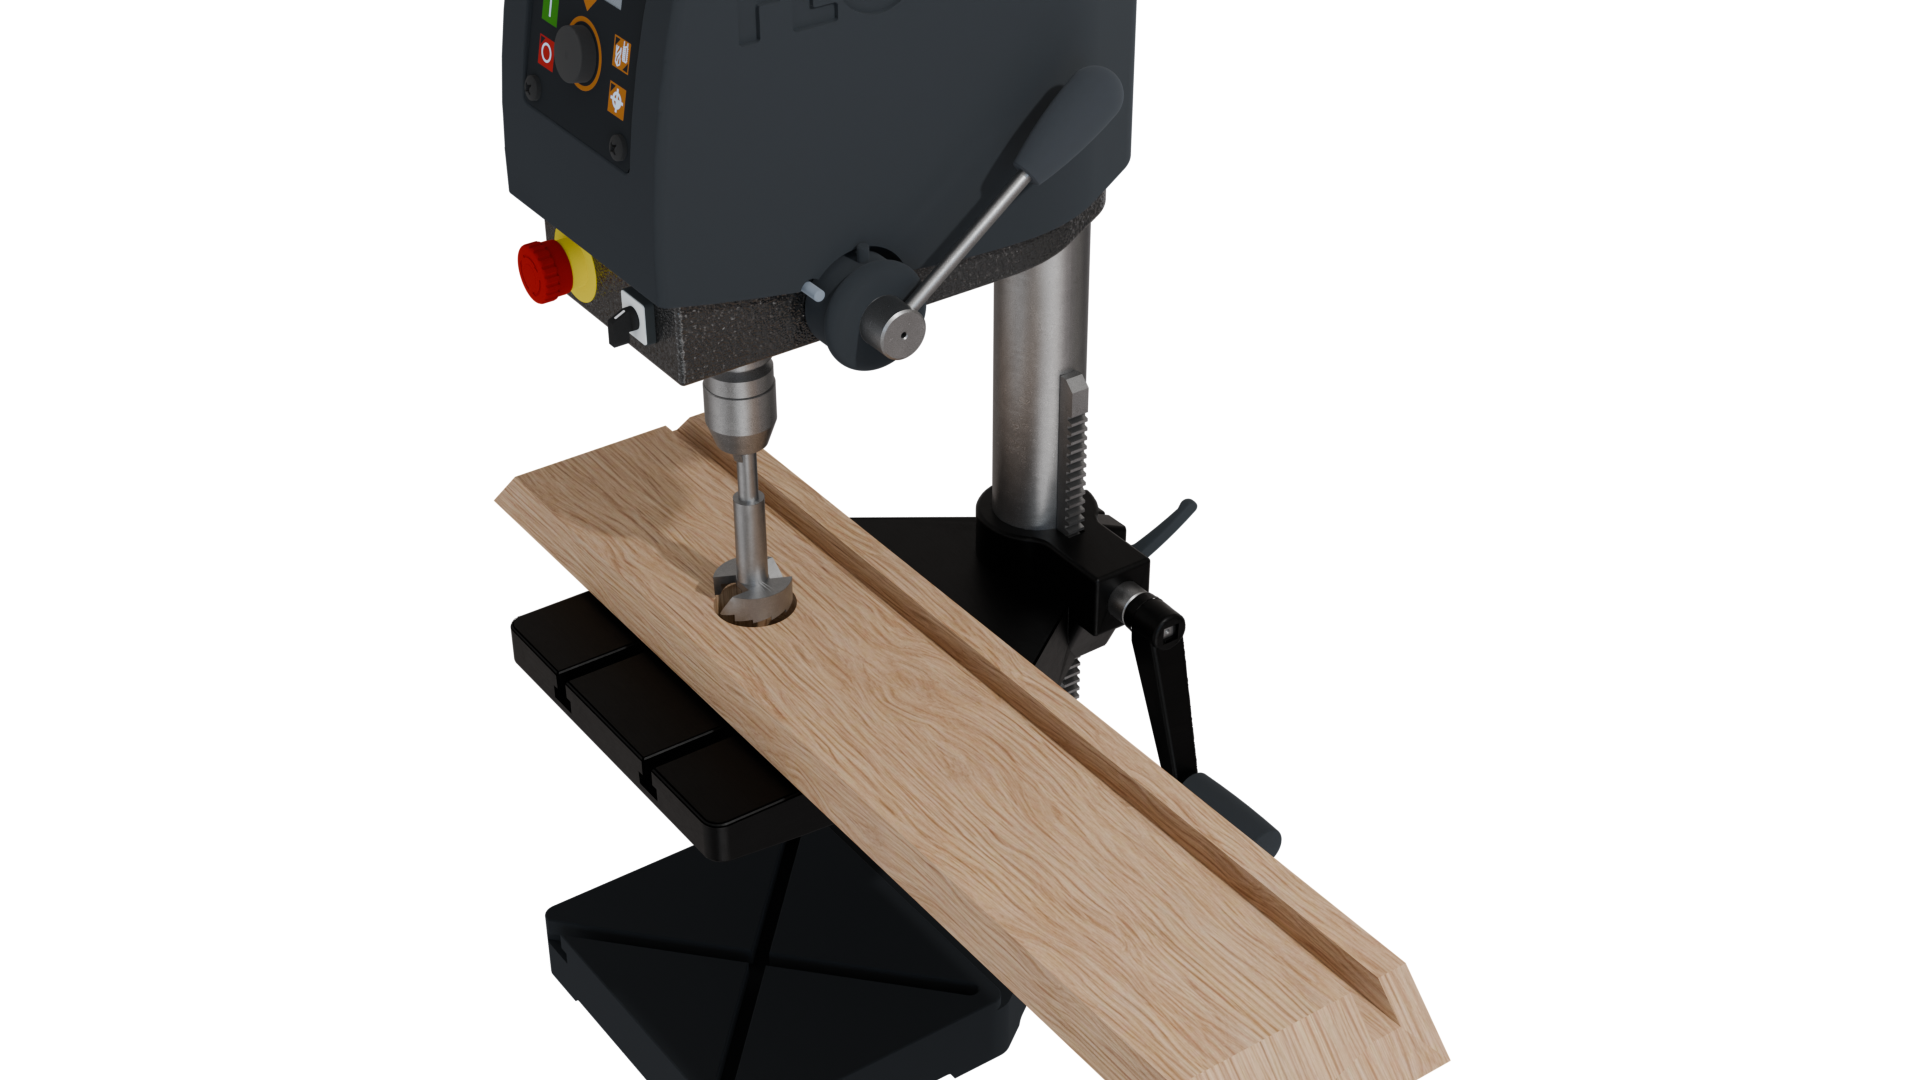
Once this has been marked up, use the forstener or spade bit to drill a Xmm hole, centered at each end of the line, as show by the image below. This is easiest done using a pillar drill or drill press, however is equally possible with careful use of a hand drill.
 Drill 2 pilot holes at either end of the tray handle
You can use our handy pdf marking template to make this
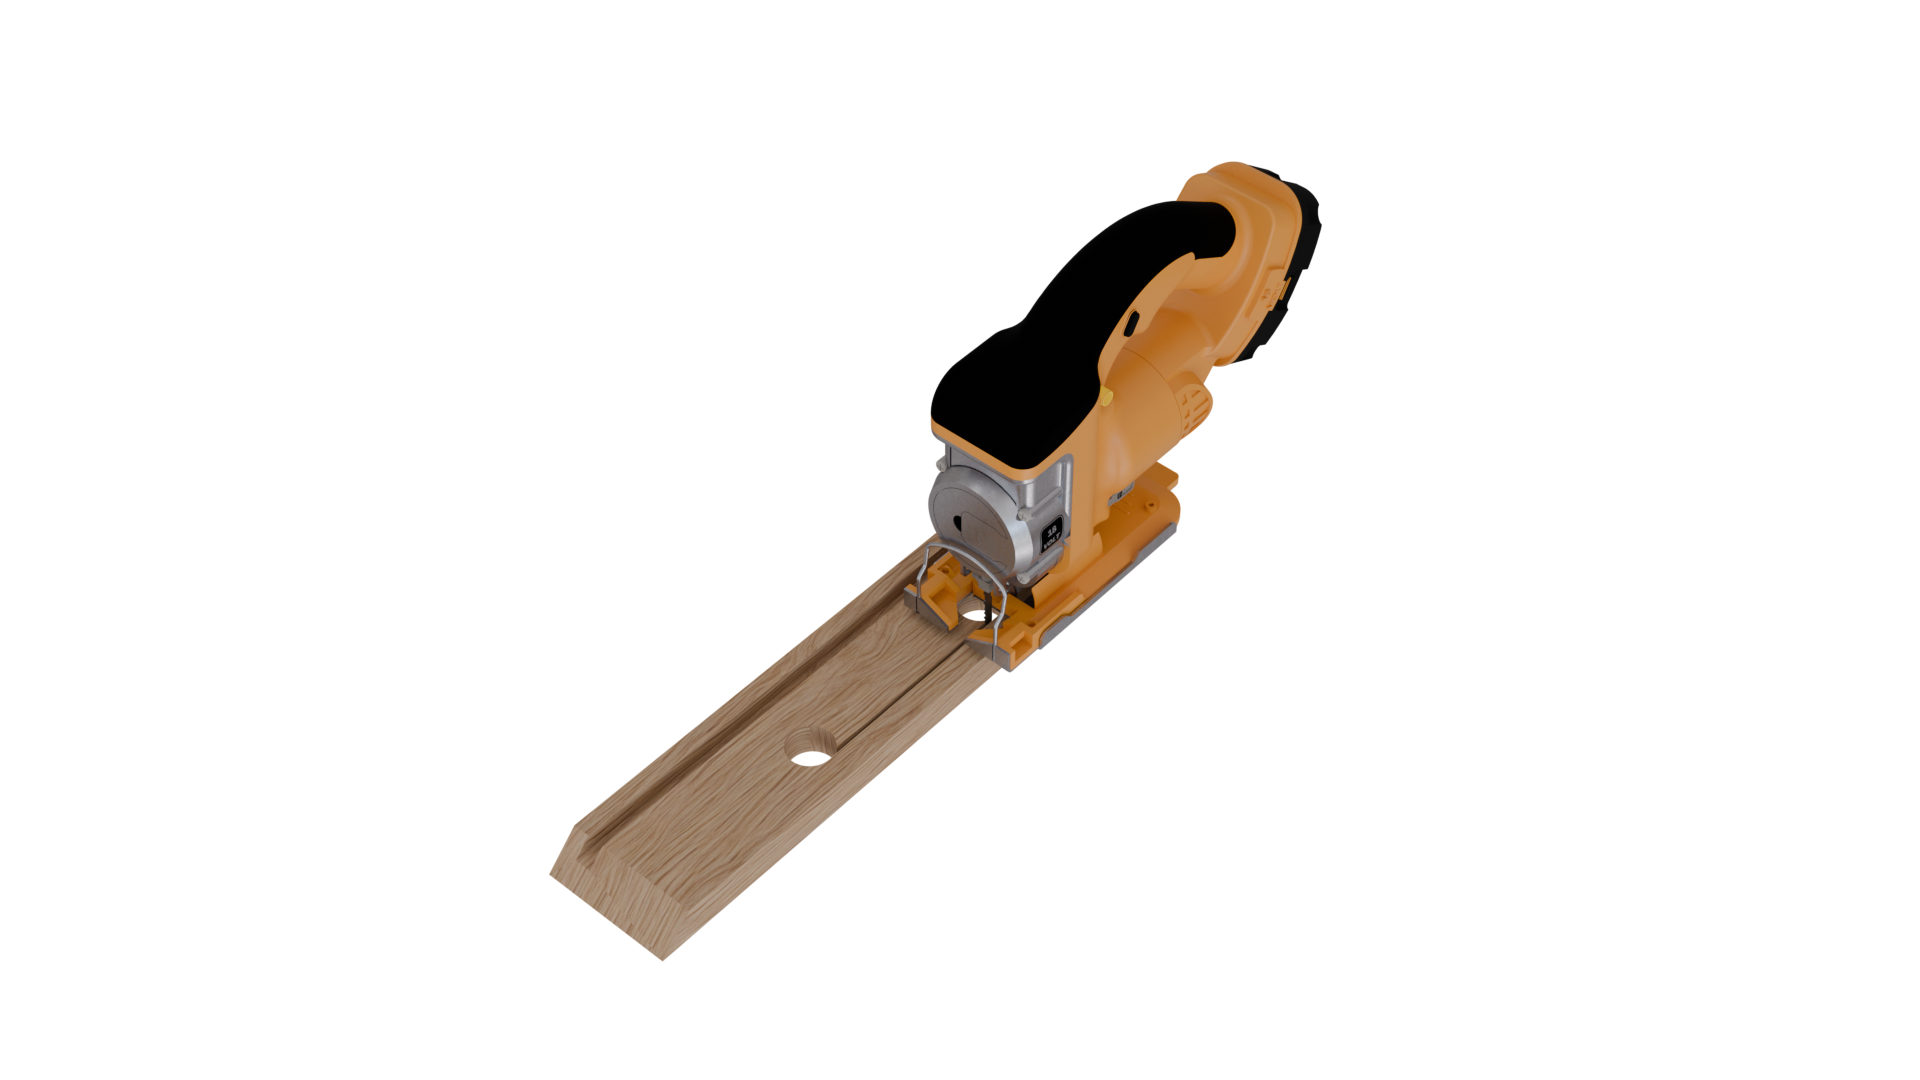
Once the two holes have been drilled in each of the two short side peices, mark a straight line connecting the 'tops' of holes and the bottom of the holes, as shown below. cut along these lines using a jigsaw, or an approprate hand saw. this is a dissicclty cut to make, so its probebly best to cut to the inside of the line and then tdy up the cut afterwards. If you have a router table and flush-trim bit, this can be a good way of tidying up the cut; tape a straight edge along the line and run the bit along the straigth edge to tifdy up and remove any excess. If not, you can tidy up this cut using a file and sandpaper.
 Drill 2 pilot holes at either end of the tray handle
One nice finishing touch for forming the handles is to run over the inside profile using a XX roundover bit to make them more tactile. For the handle dimensions used here, a XXinch roundover is recommended.
5. Assemble and glue
The fifth stage is to assemble and glue up the tray. Try a 'dry fit' first to make sure that everything slots together okay. It might be the case that some parts need minor corrections to fit together snugly (these can be made using snadpaper, chisels or handplanes, depending on the level of adjustment necassary). The tray fits together as shown in the diagram below:
The base slots into the grooves created in step 3 and the mitres form the remainder of the box. Once you are satisfied that the pieces fit together well, apply a small amount of glue to the inside of the base grooves and spread a thin layer of glue on the edge of each mitre cut, as shown by the diagram. Assemble the tray using masking tape around each corner in order to hold the peiece together.
Once all of the sides are iin place and held by the masking tape, use clamps to hold the tray together whilst the wood glue dries. You should use at least one clamp in each direction (e.g. one along the long side and one along the short side). Position the clamps towards the base of the tray.
Leave for at least 6 hours for the wood glue to fully dry before moving onto the sanding and finishing stage.
6. Sand and finish
Once all the glue is dried, the final stage is to finish the tray. Any slight mismatches in height between each of the sides can easily be remedied using a block plane - beyong this, sand the finished peice down to 180 grit and apply a